How to Track Your Trip in Only 4 Steps
PhotoMap makes it very easy to track a trip in only 4 steps. A trip can be for example a bike ride, a day trip, a multi-day holiday, a business trip, a visit to the zoo, etc.
Step 1
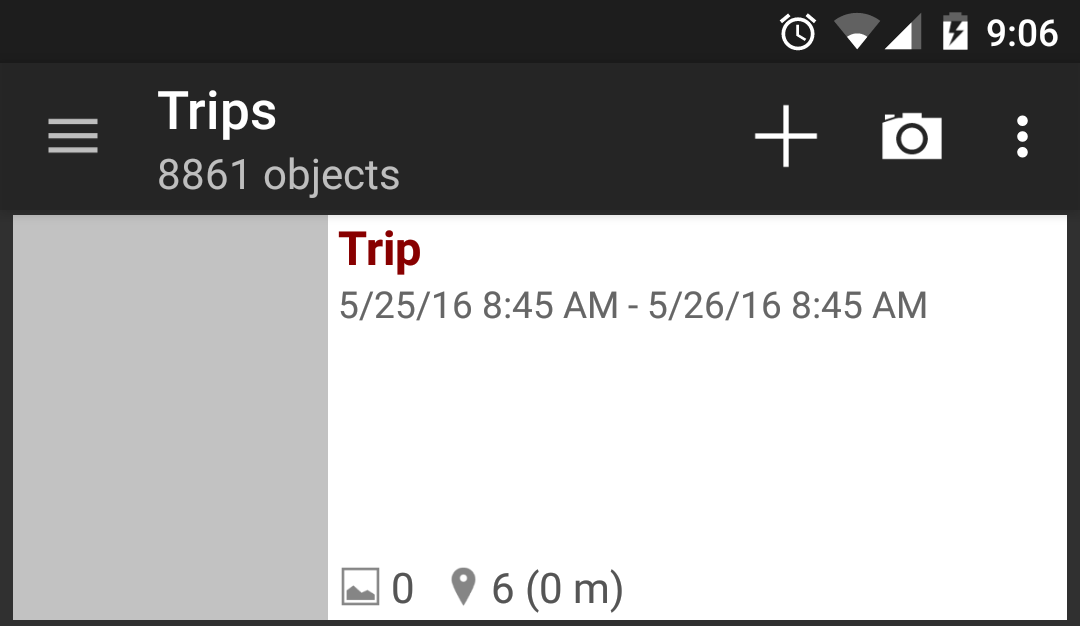
Add your new trip by just tapping on ‘Trips’ in the left navigation drawer, and then on the ‘+’ icon in the upper menu bar. Your new trip appears with a start date that is already set to the current time. Just tap anywhere on the white area of your trip to edit it, then tap on the current headline ‘Trip’ to set it.
Step 2
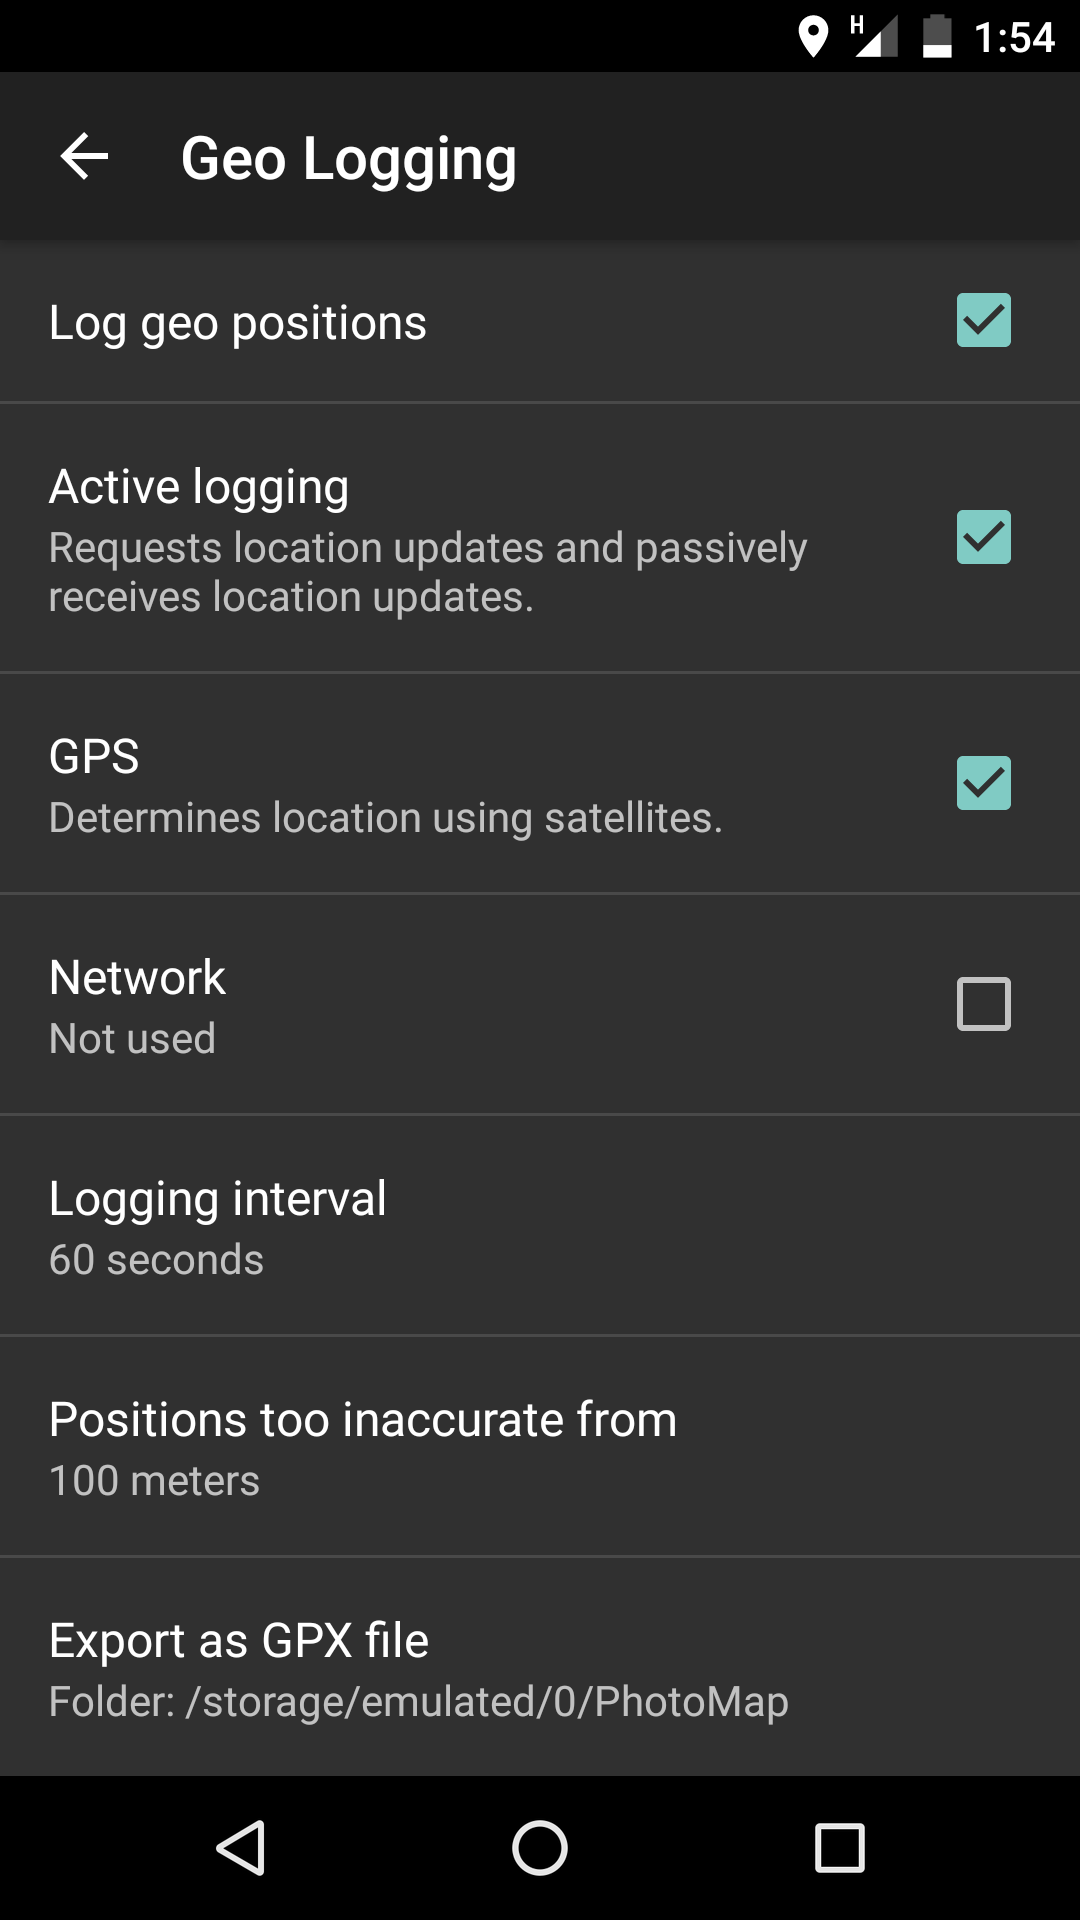
To get a detailed trip record, you just need to activate the geo logging feature by selecting ‘Geologging’ in the upper menu bar. Just check the boxes ‘Log geo positions’, ‘Active logging’, and ‘GPS’ as you can see in the following screenshot.
Step 3
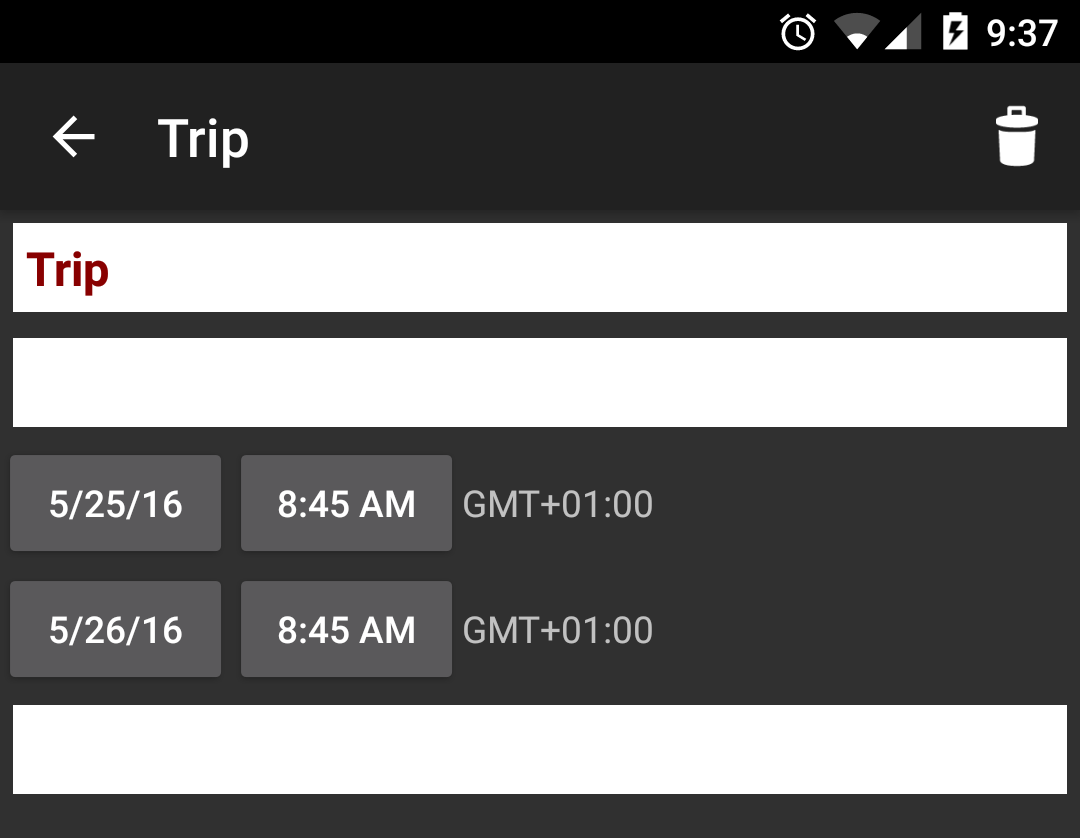
Go on a trip, take pictures, and add your experiences to the trip description by just tapping on the white trip area. Tap on the lower description area to add a detailed description, or tap on the upper description area to add a summary displayed in the trip list.
Step 4
Set the end date of your trip.
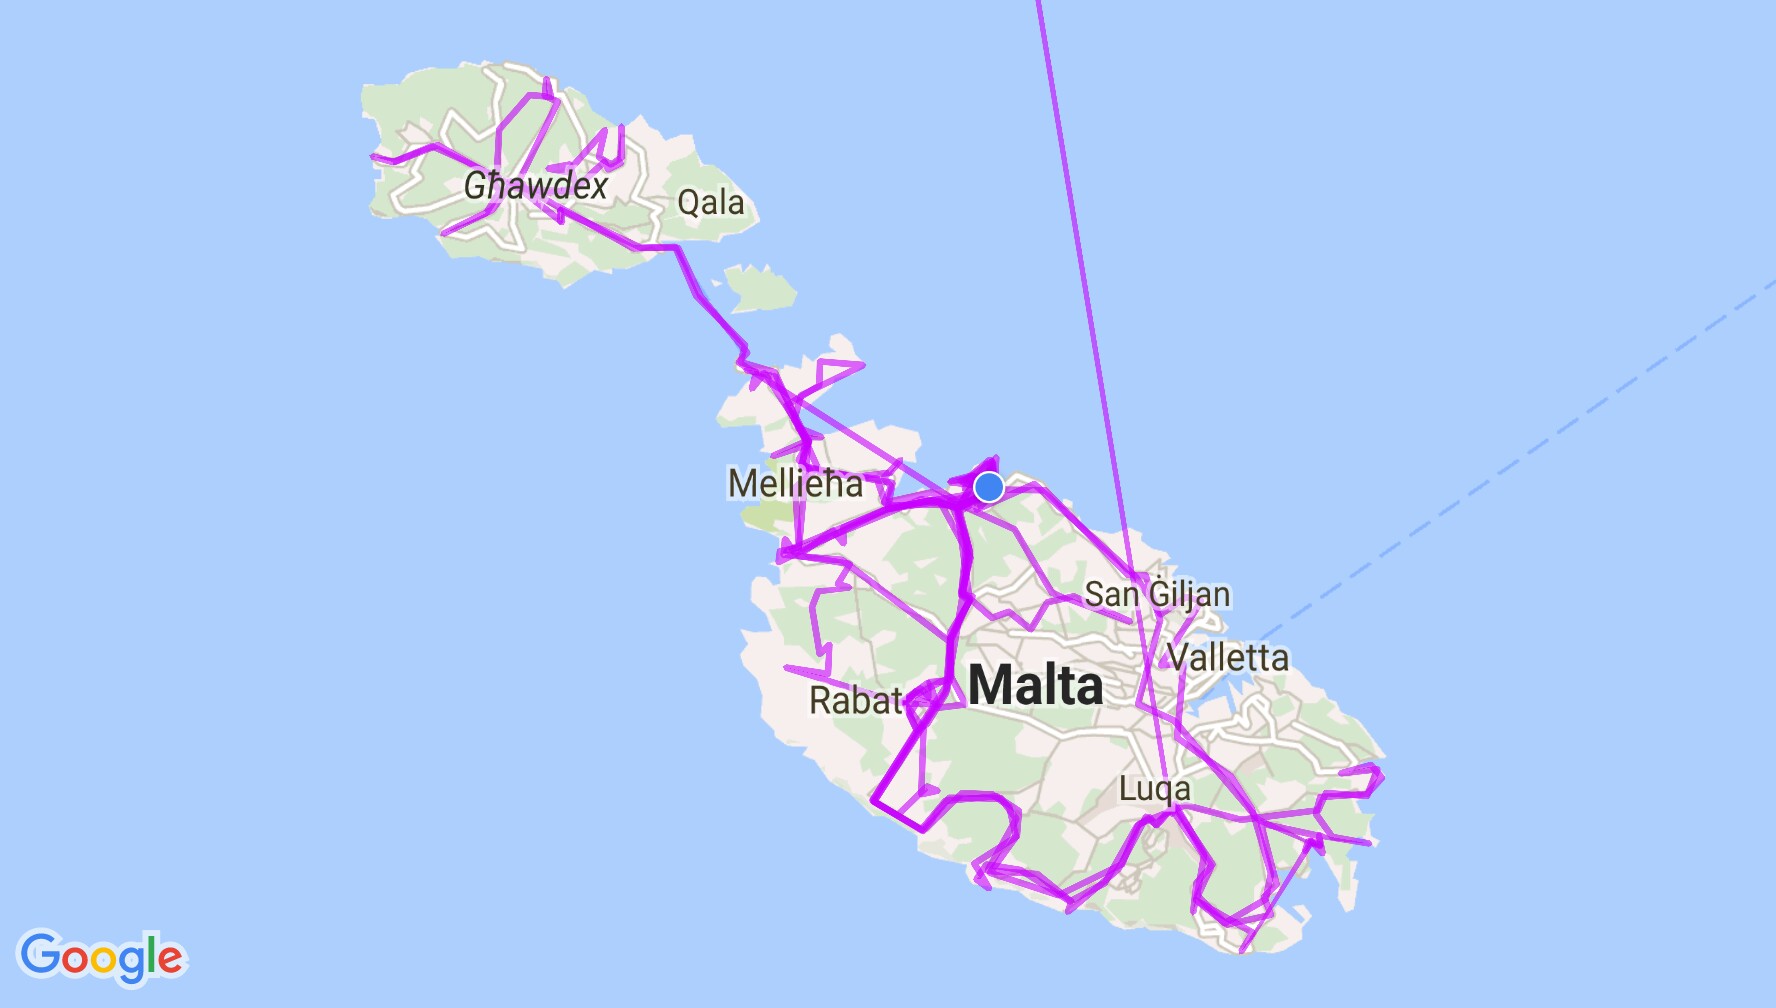
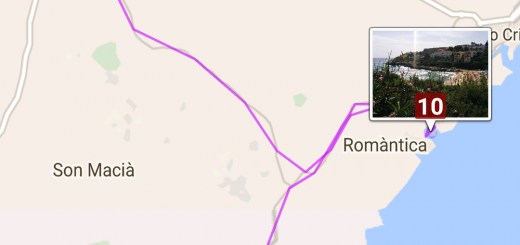
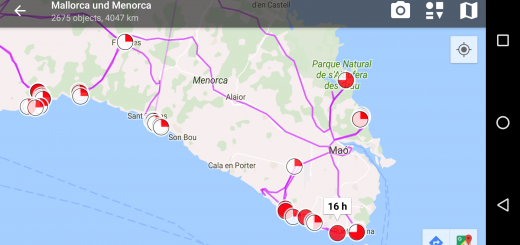
Enjoy your trip whenever you want. Just tap on the photo of the trip entry to view the logged geo positions and taken pictures on a map or as tile view. You can show and hide the track or the photos by tapping on the map icon and selecting ‘Photos’ or ‘Logged Positions’.

Recent Comments